[TUTORIAL] What is QuickBMS? How to export and import with QuickBMS?
Info
In this tutorial I’m going to explain what is quickbms, why reverse engineers are creating quickbms scripts and how to use such scripts for exporting and importing game assets to/from archives.
What is QuickBMS?
QuickBMS is a tool used for extracting, reimporting, and manipulating files from various game and software archives. It is widely used by modders and data miners to access game assets such as textures, audio files, and 3d models. QuickBMS supports a vast number of file formats through user-created scripts, which define how the program should handle specific archive structures.
Key Features of QuickBMS:
- Supports Thousands of File Formats – Thanks to custom scripts, QuickBMS can extract data from many different proprietary formats.
- Reimporting Capabilities – In some cases, it allows modifying and reinserting files back into their original archives.
- Custom Scripting – Users can write or download BMS scripts to work with specific archive types.
- Efficient & Fast – Designed for quick extraction and modification of large files.
Tool can be downloaded from https://aluigi.altervista.org/quickbms.htm
It was created by Luigi Auriemma which is very well known in reverse engineering community.
Quote from the author:
the idea was born from the need of a simple and fast solution for handling the archives used by the majority of games without wasting time writing a stand-alone tool with tons of C code just for a basic file format.
so this tool has been created mainly for myself for creating my extractors quickly on the fly, and secondly for any other user who wants do the same without learning a real programming language.
the BMS language is basic, easy to use and exists from over 10 years, what I did was simply enhancing it for my personal requirements and making the life easier when handling complex archives and file formats.
Now you know that QuickBMS is a powerful tool and you probably need it for modding some game if you’re reading this tutorial. 
So let’s proceed to the next chapter for more info.
What are QuickBMS scripts?
QuickBMS scripts are very powerful extension to basic QuickBMS functionalities. They allow you to program your own logic to tell the program how to behave while dealing with custom file formats. Standard use case for them is to allow extraction of game contents. It saves you time, because you don’t have to extract data manually by hex editor. If you’re a programmer, it also saves you time to create a program’s logic, because QuickBMS scripts are usually short and in most cases they don’t require any external packages/dependencies to make your code work.
So the question is – what do you need to use QuickBMS script?
Well, basically you need 2 things:
- QuickBMS program. You can download it here https://aluigi.altervista.org/quickbms.htm
- QuickBMS script. What script you want to use depends really on the file format you’re interested in. For this tutorial we will use script I have created for TPK archive file from game „Tiny Thor” (PC/Steam). You can download it here https://github.com/bartlomiejduda/Tools/blob/master/NEW%20Tools/Tiny%20Thor/Tiny_Thor_TPK_script.bms
The script mentioned above is just an example. You can find full list of the scripts from the author on his page https://aluigi.altervista.org/quickbms.htm
There are also other places on the Internet where you can ask people to create a script for you, for example ResHax forum https://reshax.com/
How to extract data with QuickBMS?
Now you know some basics from the previous chapters, so you’re ready to do some extraction. As as said earlier, for this tutorials we’ll take a look at the TPK archive. Here you can see how the data is scructured in the archive:
// header
4 bytes (char) - signature // "TiPK"
4 bytes (uint32) - number of files


// index
num_of_files *
{
   4 bytes (uint32) - file path length
   x bytes (char) - file path
   4 bytes (uint32) - file size
}


//file data
num_of_files *
{
   x bytes - file data
}
This is pretty standard format. No complicated data structures are involved. There are 3 main parts – header, index and file data.
This knowledge allowed me to create simple script for this format (linked above). If you’re a programmer, you can check out the source code and learn from it.
If you’re a beginner, just go further with this chapter, because technical background is not needed to do assets extraction.
So let’s start with the process. First you need to locate TPK archive in the game’s directory.
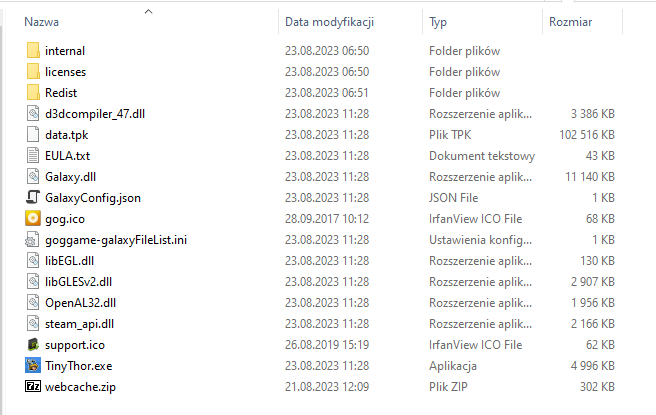
As you can see, „data.tpk” file is the largest file in the directory, it’s exactly 100MB in size. If you examine other files and 3 directories, you’ll notice that they don’t contain any assets, so we can now be sure that all the assets are stored in TPK archive.
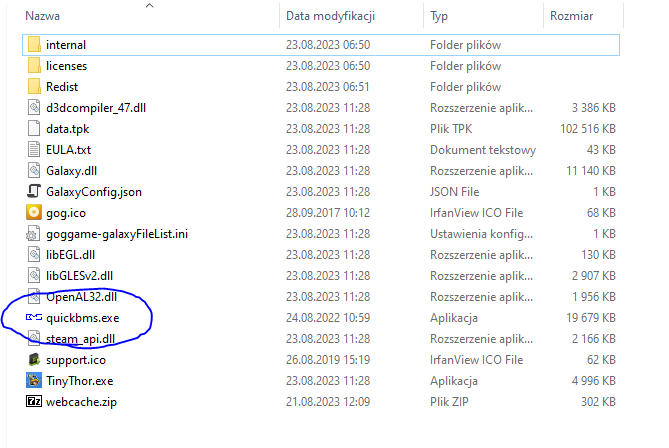
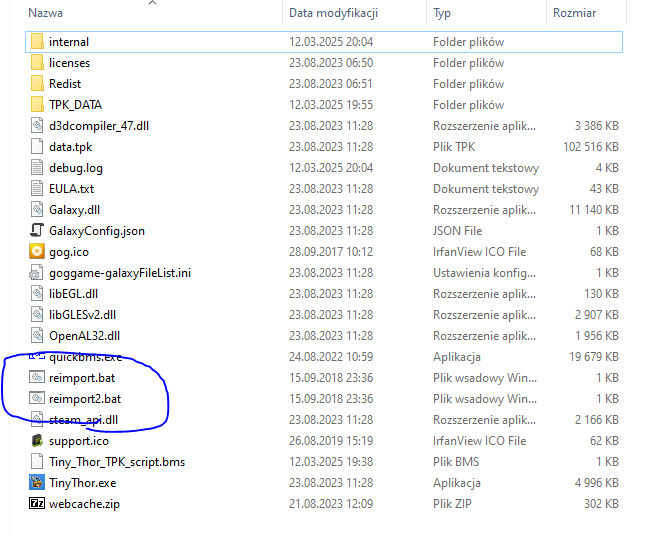
You can now do some preparations to make things easier. First, download QuickBMS program from https://aluigi.altervista.org/quickbms.htm unpack it and copy the executable file to Tiny Thor’s game directory like this:
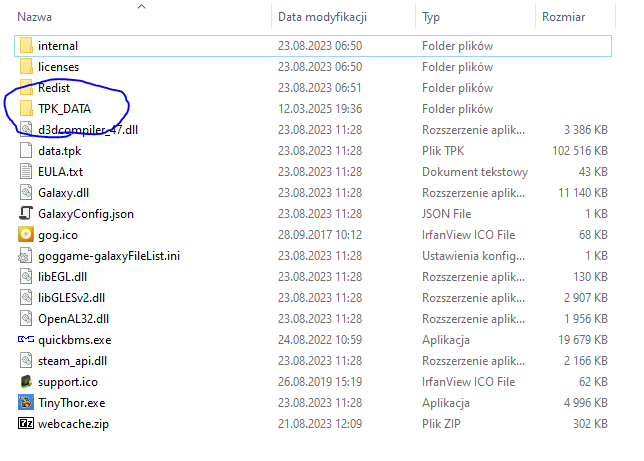
Now you need to create some output directory for your extracted data. You can call it whatever you like, in this tutorial I will call it „TPK_DATA„.
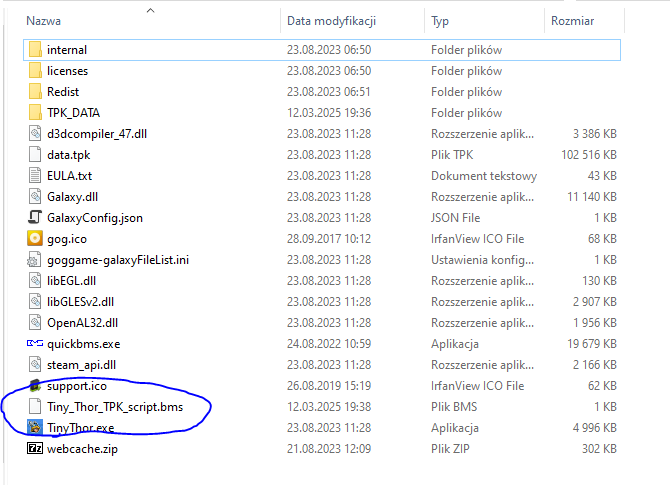
Last thing you need is a script (link above!) that will handle the extraction process. I’ve called the script „Tiny_Thor_TPK_script.bms„, but again – filename doesn’t matter. Download it and save it in game’s directory as well:
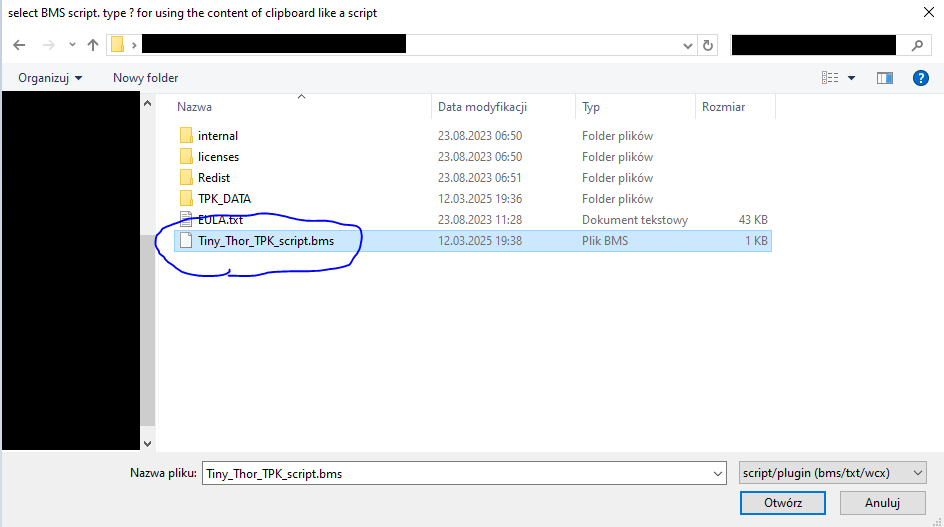
You have everything prepared now, so just double click on „quickbms.exe” and choose the script you want to use:
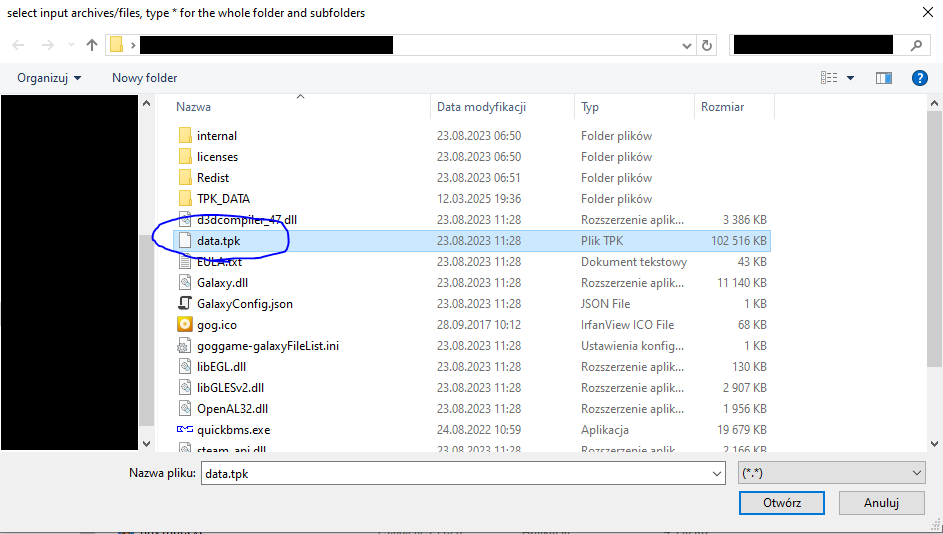
In the next step, please choose „data.tpk” archive file:
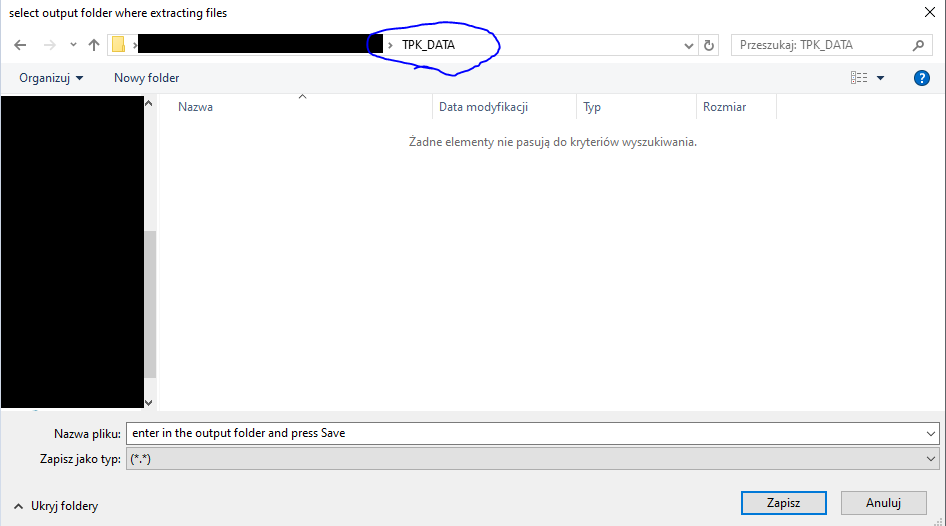
In the last step, choose output directory, which is „TPK_DATA” in this case:
Now just click „Save” button and see what happens:
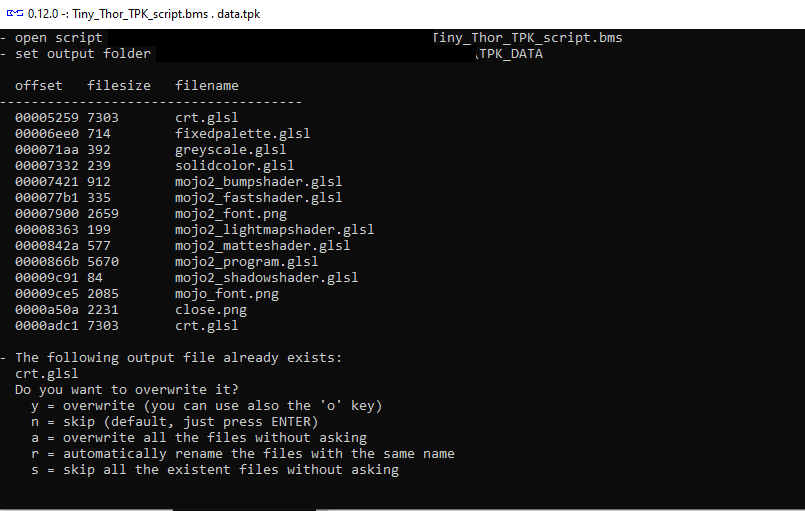
As you can see, files were extracting smoothly until program encountered a duplicate filename in the archive.
There are two ways of solving this:
- Change the logic in the script to allow extracting only files with unique filenames (there are multiple ways in programming to do this)
- Choose one of the available options while extracting
So let’s assume that you don’t have programming knownledge and you only want to extract data by choosing second option.
You could skip the problematic files by just pressing ENTER or you could choose other options.
For this tutorial, I will choose „r” option to have all the files properly renamed.
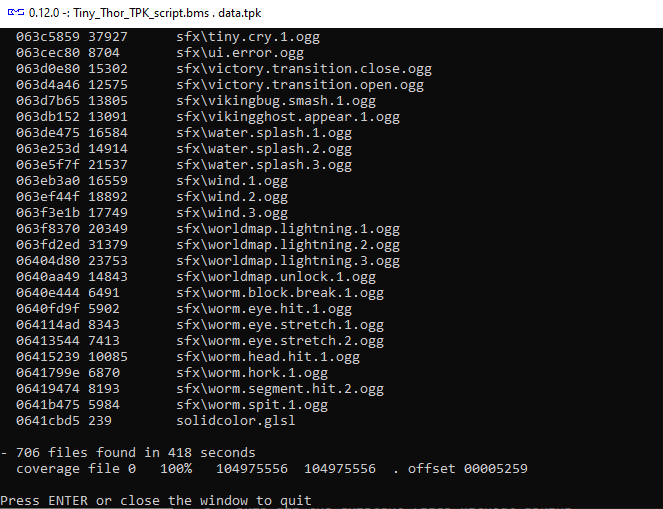
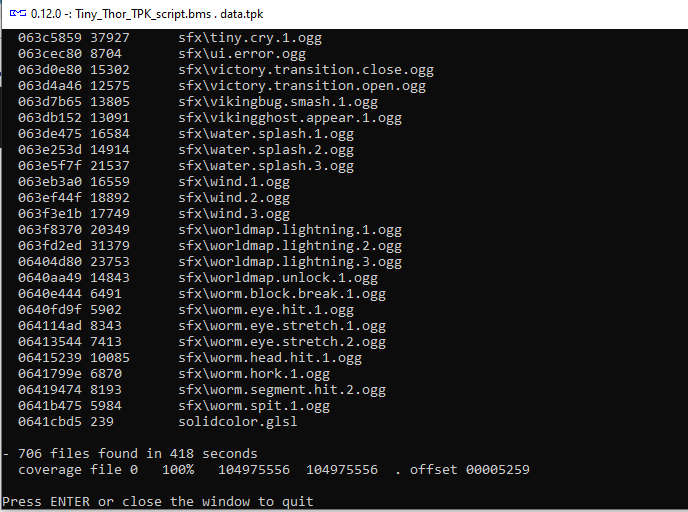
As you can see, afer choosing one of the options, files have been extracted successfully.
You can see that 100% of the archive file was covered, so all the data should be now in „TPK_DATA” directory.
How to import with QuickBMS?
You’ve learned how to extract data, so now it’s time to learn how to import it to the TPK archive. This will allow you to mod the game with your custom changes.
Same as before, you need to do some preparations:
- Download QuickBMS program and put „quickbms.exe” file in Tiny Thor’s game directory
- Download QuickBMS script for TPK archives and put it in Tiny Thor’s game directory
- Create TPK_DATA directory for output files
- Extract data to output directory
If you’ve already done those things in the previous chapter, you don’t have to do them again. Just go to the next step.
And the next step will be to get „reimport.bat” and „reimport2.bat” files from previously downloaded „quickbms.zip” file and copy it to game’s directory:
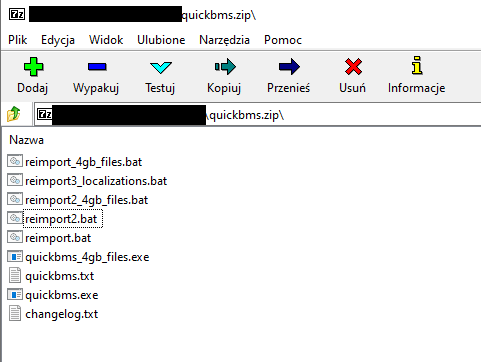
Like this:
Now we need to do some changes to game’s files to make sure if the reimport process works well.
If you’ll launch the game, you see title screen like this:
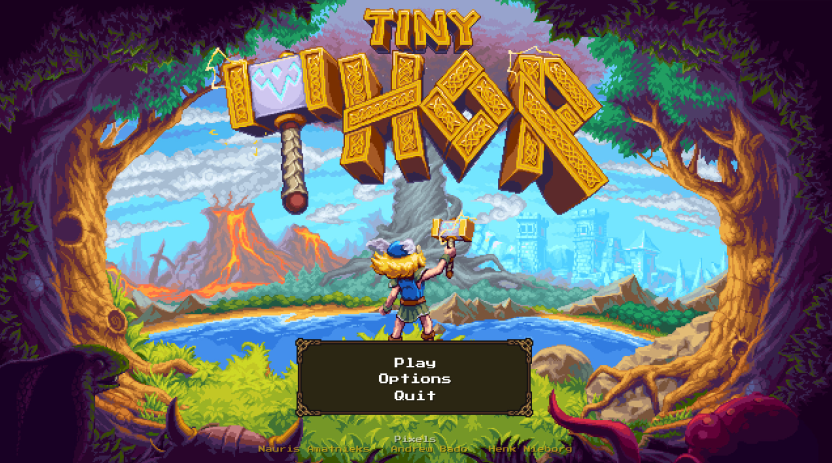
Let’s modify something on this title screen.
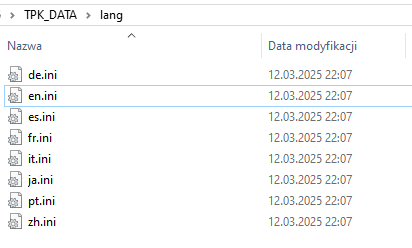
Go to „\TPK_DATA\lang” directory. You’ll see a bunch INI files:
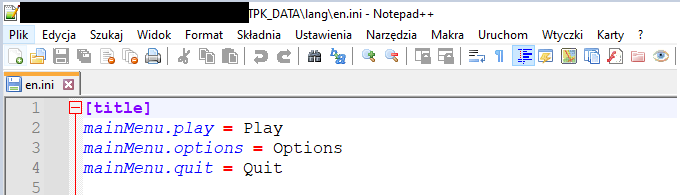
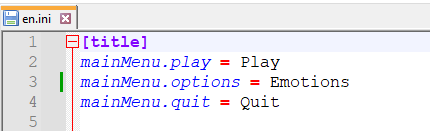
Open „en.ini” file in Notepad++ or any other text editing program and make some changes.
I’ve decided to change „Options” text as an example for this tutorial:
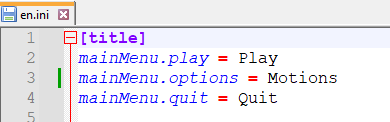
And I’ve changed it to „Motions” just for fun
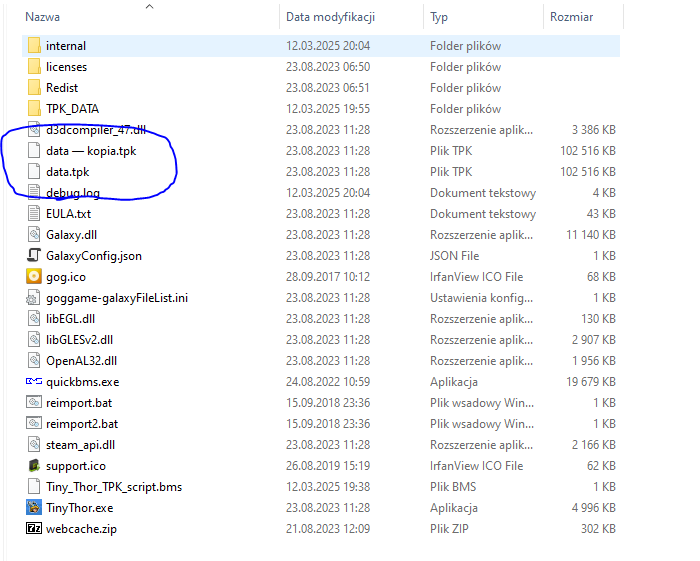
Now the changes are done and we can prepare to import by making backup of the original archive (just in case something goes wrong):
Now you can double click on „reimport.bat” file to start a modding test.
You do it the same way that you did it for export, so:
- You choose „Tiny_Thor_TPK_script.bms” file in the first window
- You choose „data.tpk” archive file in the second window
- You choose „TPK_DATA” directory in the third window
And you’ll see the same output window you saw earlier when doing export:
That means you did everything correctly and no error occured during the process.
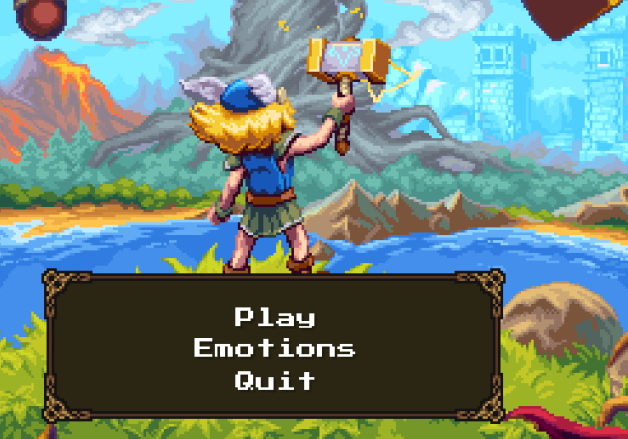
And you can see changed result in the game:
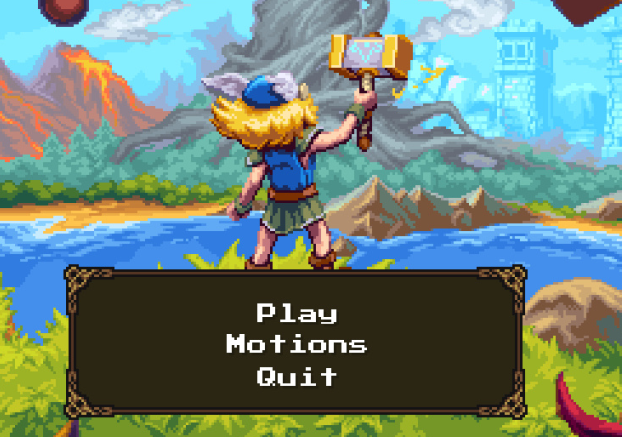
So that’s a win at this point. We’ve achieved our goal to make some changes in the game by using reimport mode from QuickBMS.
But as you’ve noticed a „Options” text and „Motions” text are the same length. I’ve specifically chosen this word as an replacement to show you that there’s no issue when you try to import files with size lower or equal original file size. New word have the exact number of letters, so I didn’t change the file size in this example.
But what happens when we try to change it to word that have more letters than original word „Options”?
Let’s try to change it to „Emotions” now, which has exactly one letter more than original.
And let’s repeat executing of „reimport.bat” script:
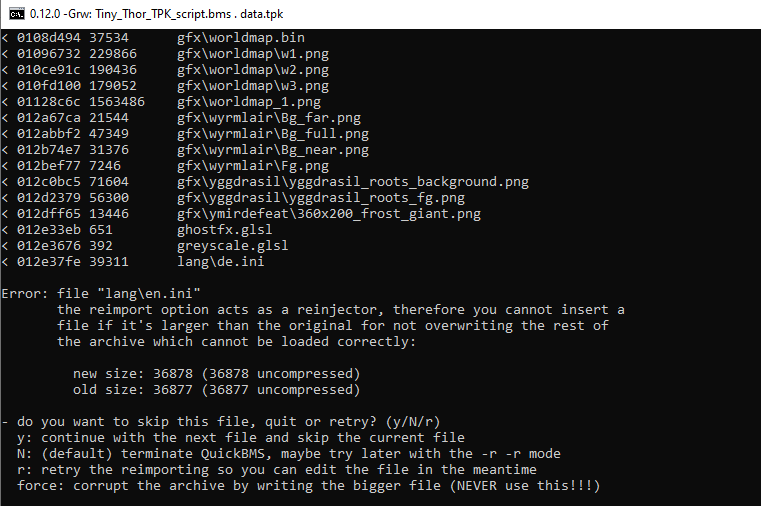
As you can see, QuickBMS returned error telling us that „en.ini” file is exactly 1 byte larger than original file and it can’t continue with reimport logic.
That’s a bad situation and we have two possible ways to solve this:
- Make some changes in „en.ini” file, so that new file will be less or equal in size comparing to original file. So for example if you have added 1 letter in one place, you can remove 1 letter in other place to make it right.
- Use „reimport2.bat” script to try a different import method.
Second option is very convenient, because it allows you to import files larger than original, but it may not work for every game and with every script.
You have to decide which option is best for you and choose wisely.
Either way, you should get result like this:
Summary
In this tutorial you’ve learned:
- What is QuickBMS
- What are QuickBMS scripts
- How to export data using QuickBMs scripts
- How to import data using QuickBMS scripts
Those are very solid basics. Next step on your journey should be learning how to write your own QuickBMS scripts.
That requires some reverse engineering knowledge, so if you want to know more, you can go to ResHax forum https://reshax.com/ and learn from other users.
So that’s it for this tutorial. Happy modding.